- Published on
Windows dev setup
- Authors
- Name
Reluctantly or willingly, Windows as an OS has companied me over 2 decades (since Win95). After encountered other OSes as a developer, I still got the mixed feeling about Windows when lots of coders were complaining about its bloats and privacy. To be frank, the developer experience(DX) on Windows did not good as the *NIX-based systems.
However M$ is committing to improve it, Windows 11 got much better experience in different ways (yes, it still sucks in certain ways). As a nerd, I do enjoy the variety of OS(using MacOS/Linux/Windows at the same time), though Windows plays a role of my daily developing and gaming activities. This post is just my personal experience of win dev setup. I hope to keep it minimal and helpful.
Windows Terminal
First thing first, the CLI infrastructure, the terminal(aka console). In Windows world, before we got some ugly and "outdated" tools (Command Prompt and Windows PowerShell) to type command line to interact with the OS. Some more eye-catching tools like cmder, Fluent Terminal emerged, trying to improve DX. A million years later, M$ finally decided to address on this issue. So the Windows Terminal turned out and this new toy rocketed. Windows Terminal provides a bunch of morden features and unifies the UX across cmd, PowerShell and WSL. With the latest Win11, the terminal is already be installed and set as the default system-level terminal application. If you're not using the latest Win11, you can just install it via Microsoft Store, or Github binary release(yes, it's open source), or Winget.
Here's the official guide to fancy-lise your terminal, and I'll metion few in the follow sections.
PowerShell
PowerShell is the de facto shell for Windows. Unlike bash dealing with text, PowerShell deal with object. Moreover, PowerShell's Verb-Noun schema comes handy sometimes. And you can always set an alias for cmdlets and commands. Even in Win11, the system default PowerShell version remains in 5.X which is for compatibility but outdated. Install latest version to gain some useful features like pipeline:
winget install Microsoft.PowerShell -s winget
Check the installed version:
$PSVersionTable
Set up some useful configs in shell profile (similar to .bashrc or .bash_profile) (notice the profile scope):
notepad $PROFILE or vim $PROFILE
Adding bash-like keybindings and auto-completion:
Set-PSReadLineOption -EditMode Emacs -HistorySearchCursorMovesToEnd
Set-PSReadlineKeyHandler -Key Tab -Function MenuComplete
Set-PSReadlineKeyHandler -Key UpArrow -Function HistorySearchBackward
Set-PSReadlineKeyHandler -Key DownArrow -Function HistorySearchForward
Setting up some aliases:
Set-Alias -N l -V Get-ChildItem
Set-Alias -N v -V vim
Set-Alias -N g -V git
Set-Alias -N d -V docker
Set-Alias -N nsv -V New-Service
Set-Alias -N rssv -V Restart-Service
Set-Alias -N fmo -V Find-Module
Set-Alias -N rdns -V Resolve-DnsName
Set-Alias -N gnc -V Get-NetTCPConnection
Set-Alias -N gvm -V Get-VM
function Connnect-VM { vmconnect localhost $args }
Set-Alias -N cnvm -V Connnect-VM
Set-Alias -N open -V Invoke-Item
Adding some PowerShell modules for common commands. (Notice: using some of those modules to implement auto-completion might slow down the shell initiation, that's why kubernetes provides a way to generate script directly into profile file)
Import-Module posh-git
Import-Module DockerCompletion
Import-Module MavenAutoCompletion
Import-Module npm-completion
Here's my profile file, and highly recommend to read this section of documentation for optimizing your shell experience.
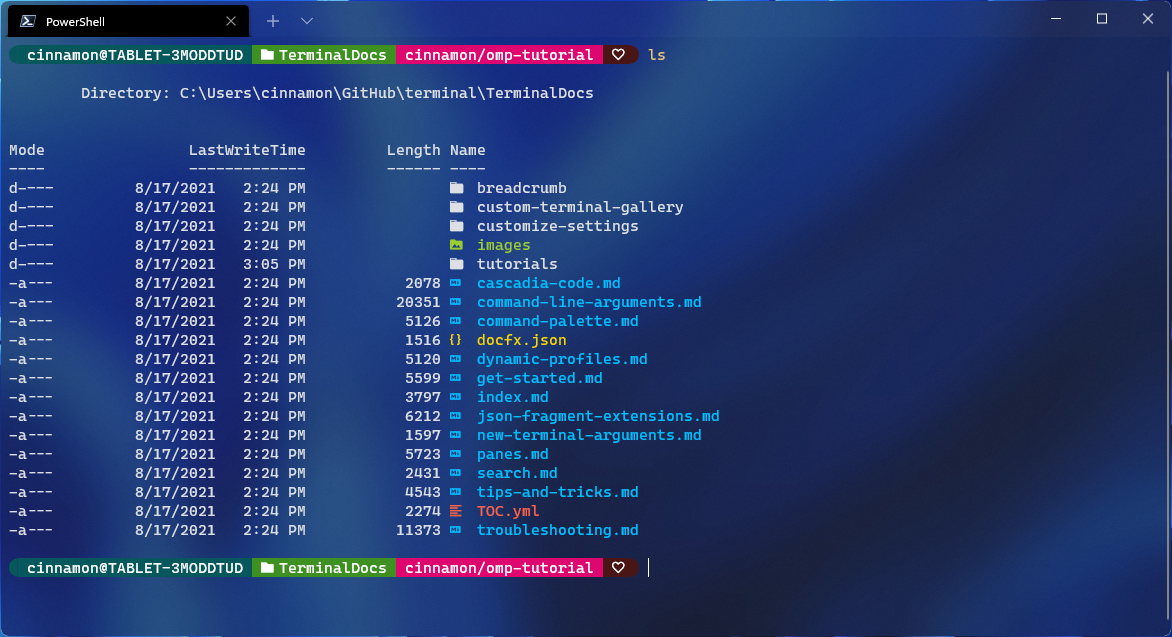
Oh My Posh
oh my posh is a prompt theme engine for shell env. Before rewrited with go, it's mainly for powershell env (much like oh-my-zsh to zsh).
See the official document for more installation options:
winget install JanDeDobbeleer.OhMyPosh -s wingetInit with preset theme (you can create your own theme for customization):
oh-my-posh init pwsh --config $env:POSH_THEMES_PATH\star.omp.json' | Invoke-ExpressionReload profile for the changes to take effect:
. $PROFILEIn order to show certain fonts and glyphs(icons), you need to install dev fonts. Nerd Fonts is quit popular(Input Fonts might be another option), and you can install via scoop or run oh-my-posh font install.
So far, we can get a cool useful shell env for developing. Finally, you can follow this instruction to setup openssh.
Package Manager
Winget
Linux got apt/apt-get, dnf/yum, pacman etc. MacOS got brew. So why different on Windows? As Windows official package manager, winget is still relative naive and the official repo lists are not abundant. But basic usages are satisfied. For Win11, winget is available out of box as a part of App Installer.
Not recommend to use winget to install apps from Microsoft Store since this may conflict with x86/64 app (e.g. the powershell from msstore is different than the counterpart one). Besides, some apps are missing(e.g. Netflix). If you try to use winget search to find such app, the result will be different than search result from msstore. Off course, you can contribute the missing packages.
Choco
The good old Chocolatey is definitly worth mentioning, here's its intro from Wikipedia:
Chocolatey is a machine-level, command-line package manager and installer for software on Microsoft Windows. It uses the NuGet packaging infrastructure and Windows PowerShell to simplify the process of downloading and installing software. The name is an extension on a pun of NuGet "because everyone loves Chocolatey nougat".
To install choco:
Set-ExecutionPolicy Bypass -Scope Process -Force; [System.Net.ServicePointManager]::SecurityProtocol = [System.Net.ServicePointManager]::SecurityProtocol -bor 3072; iex ((New-Object System.Net.WebClient).DownloadString('https://community.chocolatey.org/install.ps1'))Similar to winget's interaction with packages:
choco search ruby
# or: choco find ruby
choco install ruby
choco uninstall ruby
Althrough it even got the GUI, personally I prefer scoop because of its simplicity(using json over NuGet for package repo) and cleanness(non-admin user by default).
Scoop
Scoop got similar concepts as Homebrew, and scoop bucket relates to brew tap, basically both are using git repo to store package meta infos.
To install scoop:
iwr -useb get.scoop.sh | iex`Basic tools
scoop install sudo aria2 curl git vim gowHere's few setups for some stacks which I've been using:
Java dev env
scoop bucket add java
scoop install openjdk gradle maven
scoop bucket add extras
scoop install jenv
Node dev env
scoop install nvm
nvm install lts
nvm use lts
Fonts
scoop bucket add nerd-fonts
scoop install CascadiaCode-NF-Mono
# or
scoop install JetBrainsMono-NF-Mono
VSCode
I think VSCode no need for more explaination since it's THE most popular lightweight IDE (right, I don't consider it just as text editor). With planty of extensions, you can arm your VSCode into a universal IDE. Plus, the integration with Github, the codespace(not sure the relationship with vscode.dev) enables you to develop even in browser.
To get started:
winget install vscodeThe VSCode Remote Development allows you to use a dev container, remote machine, or the WSL as a full-featured development environment. Personally, I feel the DX is better than fleet.
Farewell, the good old Sublime Text and sunsetting Atom.
WSL
Before Windows Subsystem for Linux (WSL), the Windows world got some tools, like Cygwin, minGW(-w64) and MSYS(2) (here's a greate post to explain the difference), to provide POSIX compatibility. If you just won't to use some basic Linux tools, like grep or awk, try gow which can be installed via scoop easily.
The WSL probablly is a game changer in Windows dev world. Windows coder can use Linux tool sets without the overhead of a traditional virtual machine or dual-boot setup. It's interoperable between Windows and WSL, meaning you can boot up a service in WSL and access in Windows, see more details.
Run wsl --install <Distro> to install a distribution for WSL. To check, run wsl -l -v. By default, the WSL 2 will be used. Comparing to WSL 1 which translates system calls to Linux kernal, WSL 2 is based on Hyper-V which got performance boost for file system and full system call compatibility. However, WSL got issues on VPN environment.
Tips:
- Use admin to install;
- If got any issue during installation, try run
dism.exe /online /enable-feature /featurename:VirtualMachinePlatform /all /norestartto enable relative feature;
Moreover, you can set up GPU acceleration and run Linux GUI app via WSLg(support both X11 and Wayland).
WSA
Windows Subsystem for Android(WSA) enables your Win 11 device to run Android app, but the catch is your have to install Amazon Appstore first.
Once done, you got an Android vm in Windows. So you can sideload any Android app to install on Windows via adb. No longer limited to the apps in the Amazon Appstore, and all you need to do is enable developer mode and Connect to WSA.
Android Studio will automatically detect the WSA, and you can debug apps on it.
From my observation, the gaming experience on WSA is better than Google Play Games on PC somehow.
One little tip, Google's neadby share for Windows will facilitate info share between Android and Windows.
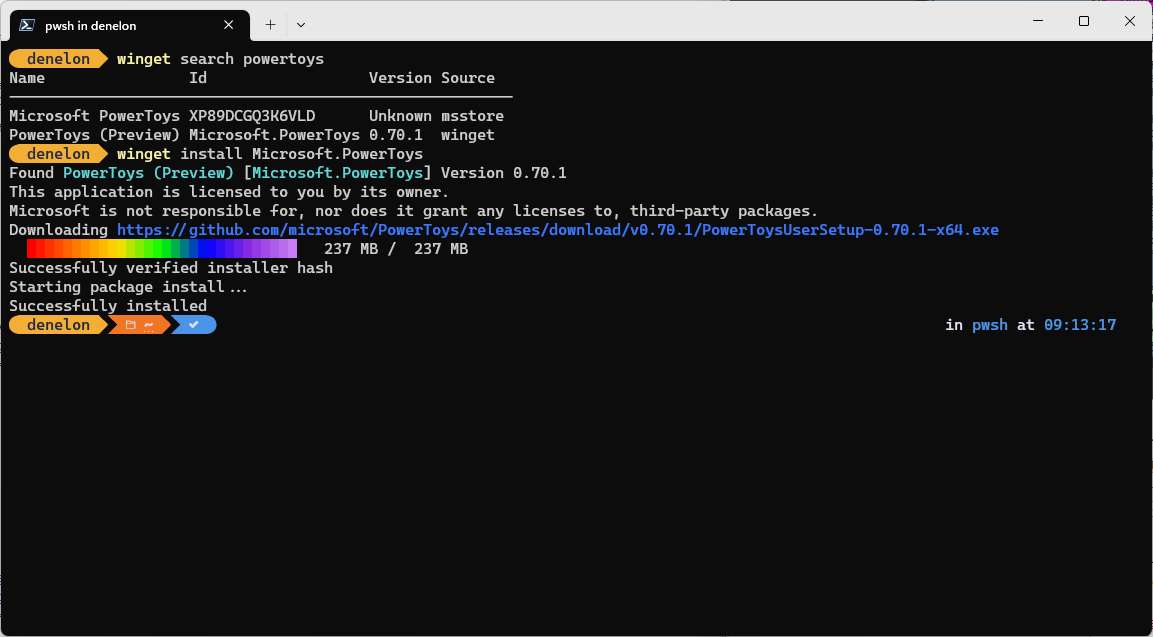
PowerToys
PowerToys is a set of utilities for power users to tune and streamline their Windows experience for greater productivity, which is developed by M$.
My most fav pick is PowerToys Run which offers similar funtionality to Spotlight Search on MacOS.

Keyboard Manager utility help me to change the default keybinding on Windows, like remapping Caps Lock to language switch(yes, I'm trying to mimic the MacOS experience).
One more thing.
DevToys
DevToys is created by a Software Engineer on Visual Studio team from M$. Comparing to PowerToys, it provides loads of tools to help developer's daily task offline, meaning you don't have to open a untrusted site just for JSON formating, JWT decoding, comparing text or testing RegExp.
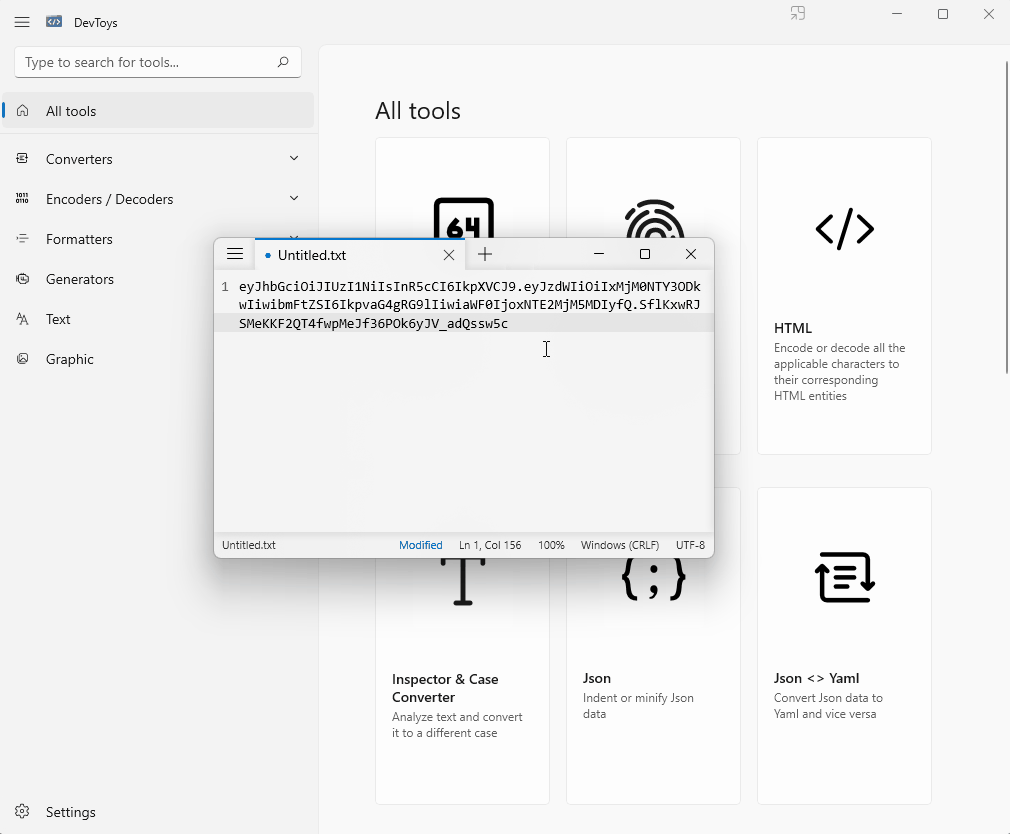
A cool thing about DevToys is that you can start it in command line. For this, simply open a PowerShell command prompt and type start devtoys:?tool={tool name}.
Currently it's only available for Windows, but there's an alternative for MacOS.